
DIY Mini Advent Wreath

Supplies:
- 4 Clothespins
- Pencil + Permanent Markers
- Garland Ties
Clothespins: Try to get the ones with an oblong/rounded top. I got mine via a common Big Box store. Note the high-rounded top as seen here:

Permanent Markers: You’ll need dark purple, pink, orange, yellow. And a black fine tip one for the outline lines. Here were the ones I used:

Garland Ties: I picked up a 10 pack for $3 at the Red Circle store:

Instructions
1. Take your pencil and sketch your candles onto the 4 clothespins. I put flames on both sides but another option is a flame on one side, plain wick on the other (so it looks like it isn’t lit yet – just turn around the clothespin candle when it is its week to be “lit”). Each will end up looking something like this:


2. Grab that fine tip black marker and trace your pencil outline:


3. Grab the permanent markers and start coloring. Make 3 clothespins purple and 1 clothespin pink. Color in the flames yellow with orange centers.

4. Grab a Garland Tie and twist it into a circle; twisting the ends together. Get a second garland tie and repeat, but add it to the first twisted tie. End result will be something like this:

5. Admire your cute Mini Advent Wreath supplies:

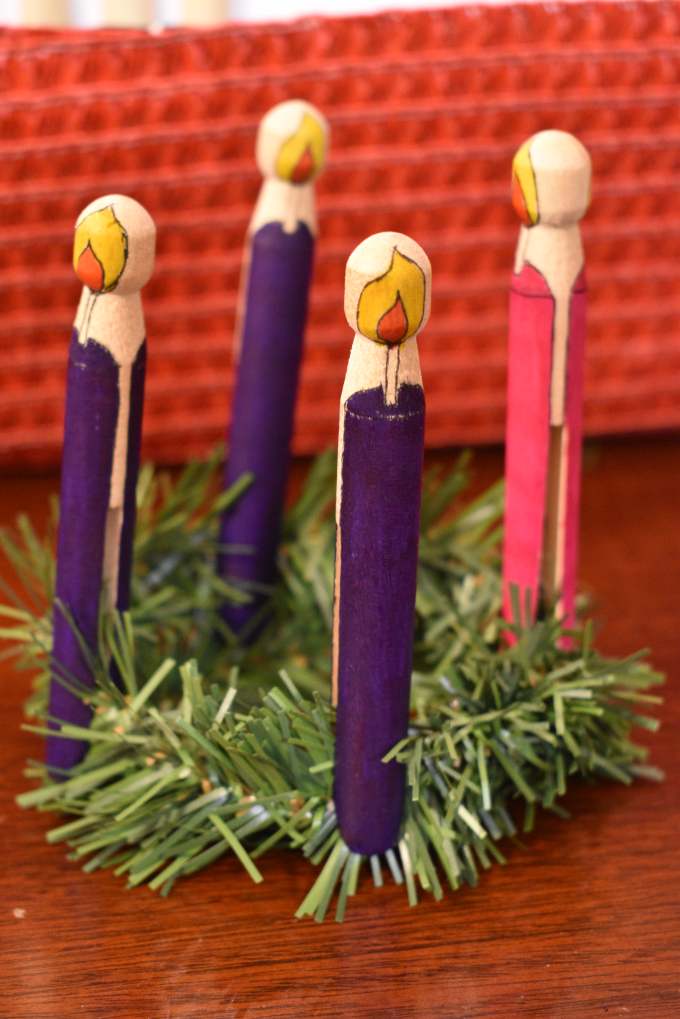
6. Place your clothespin candles on your wreath. The spacing and balance can be tricky but just adjust the candles as needed until you have a well-balanced and happy Mini Advent Wreath:


7. The hardest part is taking the candles off of the wreath and patiently waiting to add the candles one by one each Sunday.
Happy Advent!


